Docs
Doc / Dashboard
Dashboard Admin
You can access the admin dashboard by login in OmniEdge, there are Virtual Network, Devices, Security Key, and Settings pages you can manage your service.
1. Virtual Network
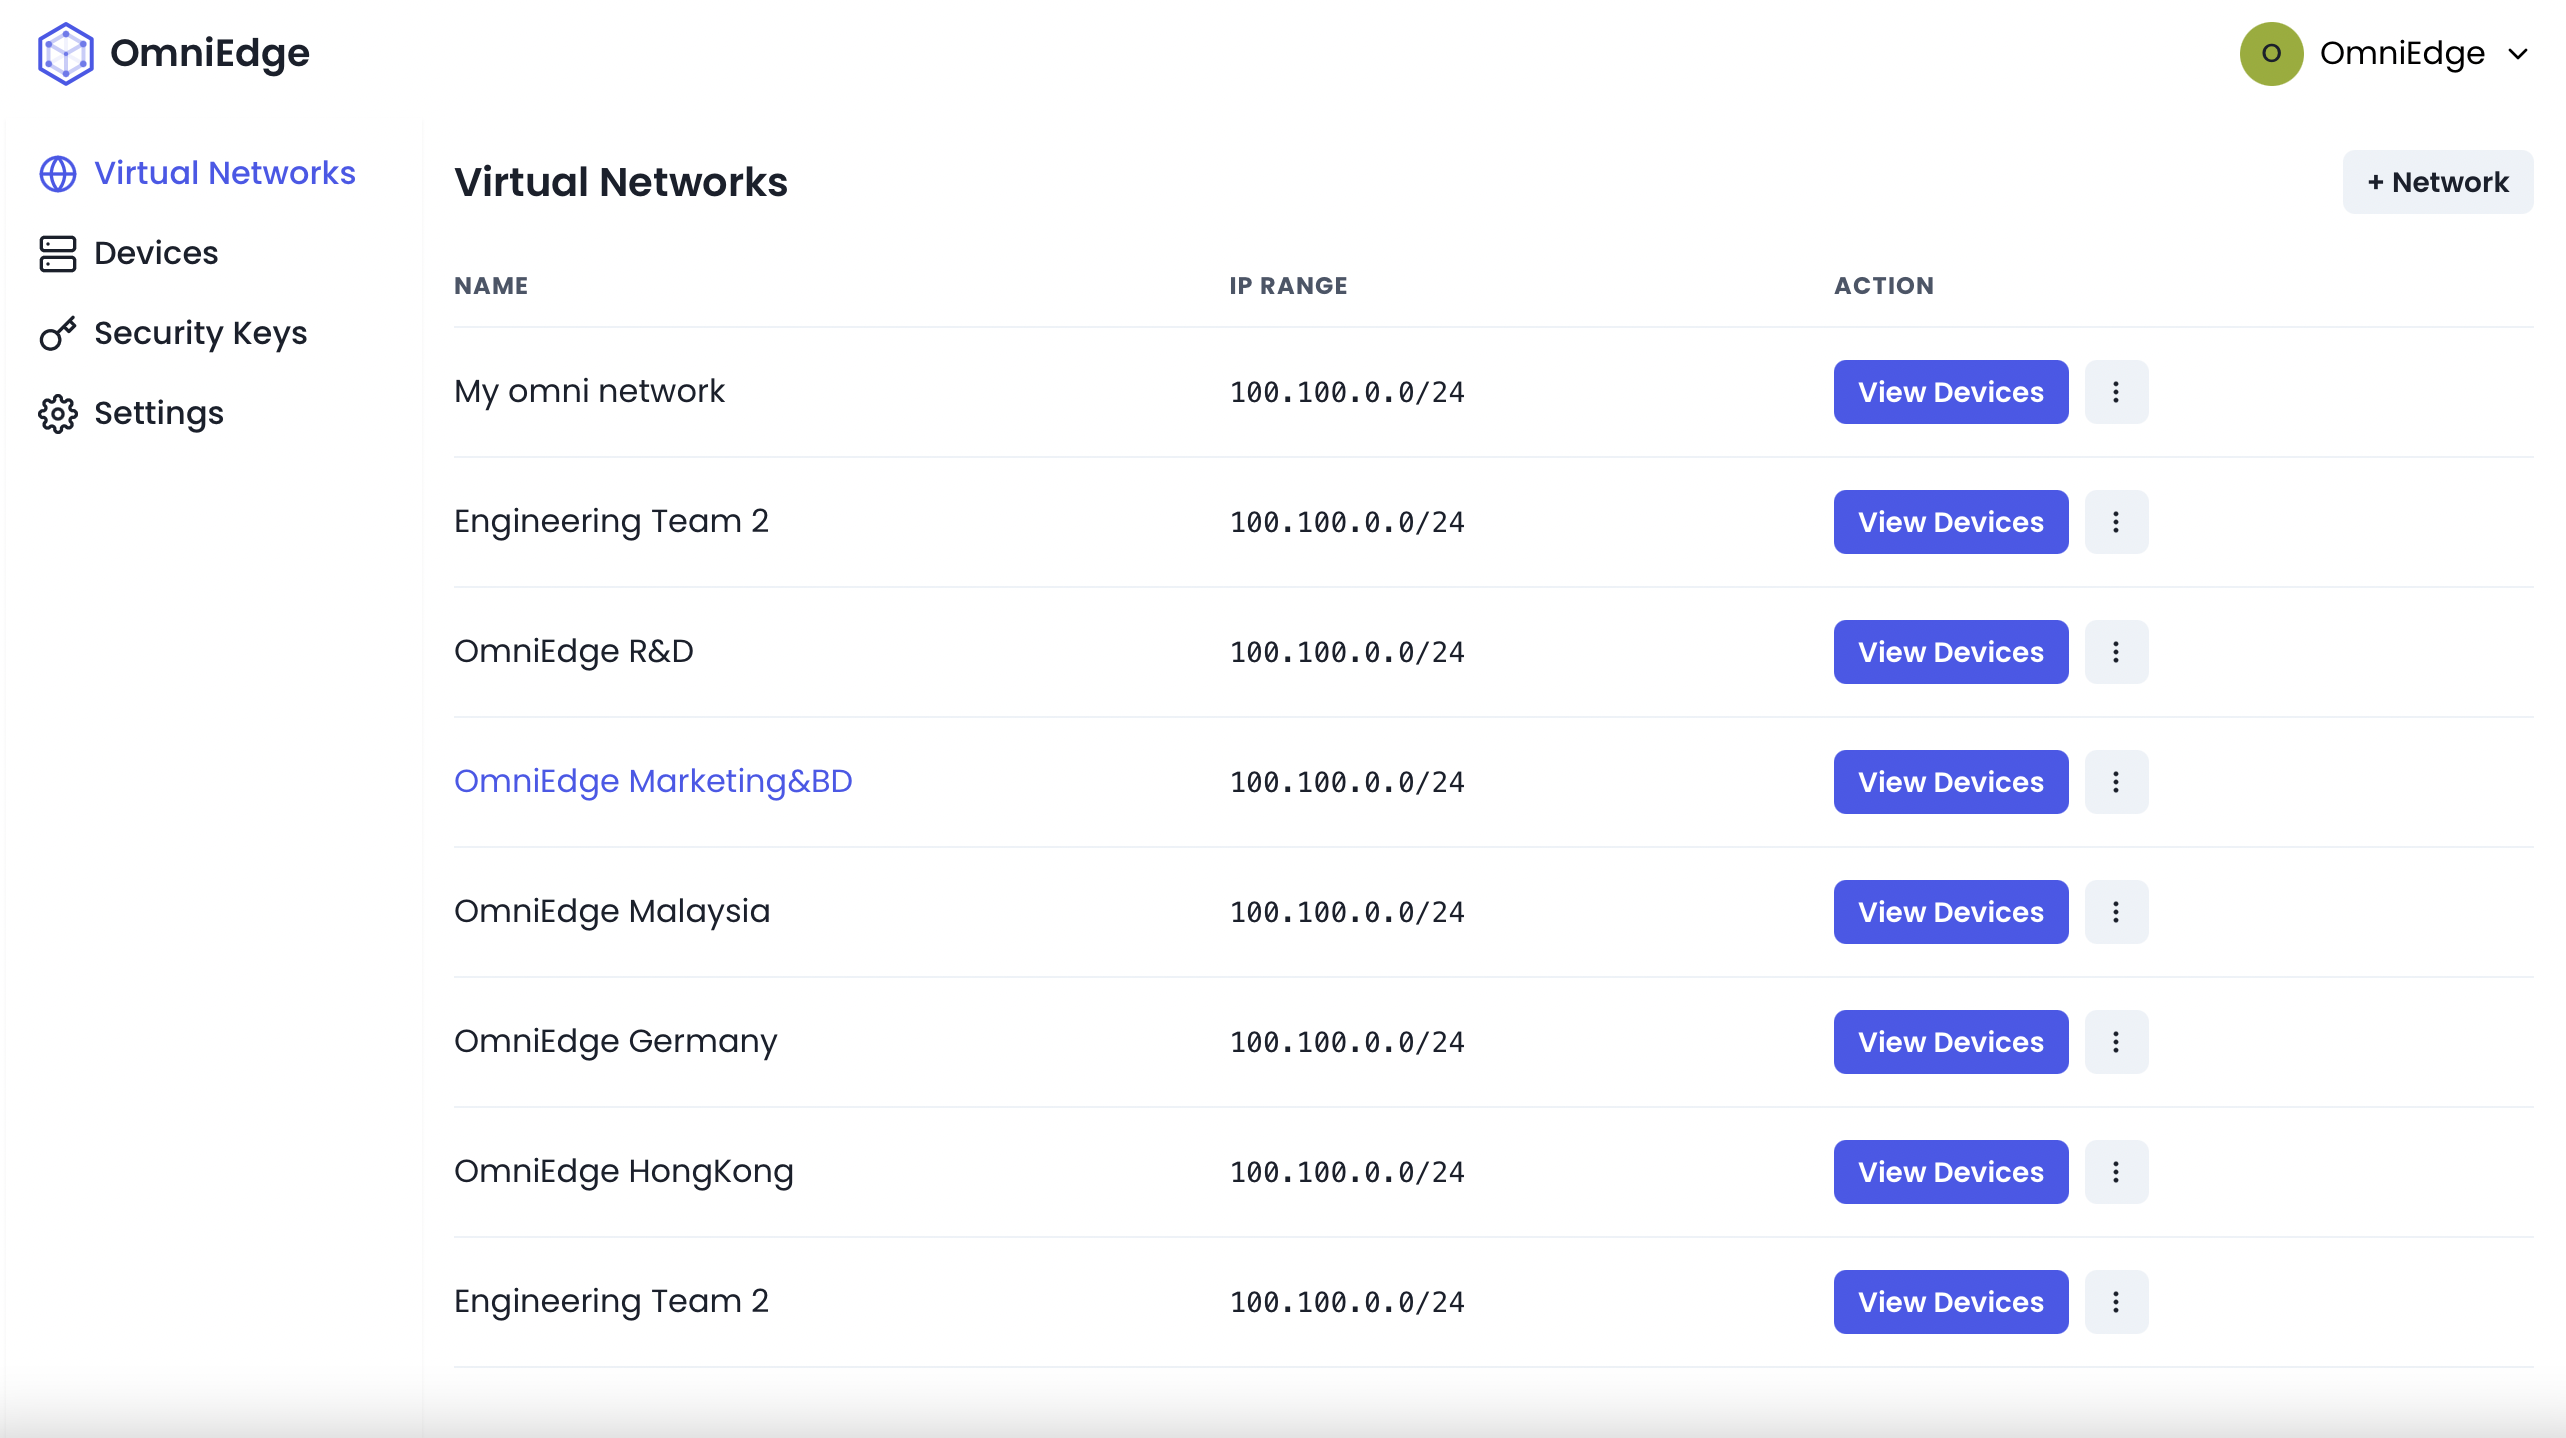
You can create your own Virtual Network for your Team or personal purpose, by simplifying click + Network, put name of virtual network and IP Range, You can use the Private IPv4 Addresses: 10.0.0.0 – 10.255.255.255, 172.16.0.0 – 172.31.255.255 and 192.168.0.0 – 192.168.255.255, or better use CGNAT address 100.64.0.0/10 subnet (from 100.64.0.0 to 100.127.255.255) reserved by RFC6598 which doesn’t conflict with the commonly-used private addresses your network might already use (10.0.0.0/8, 192.168.0.0/16, etc).
2. Sharing Virtual Networks
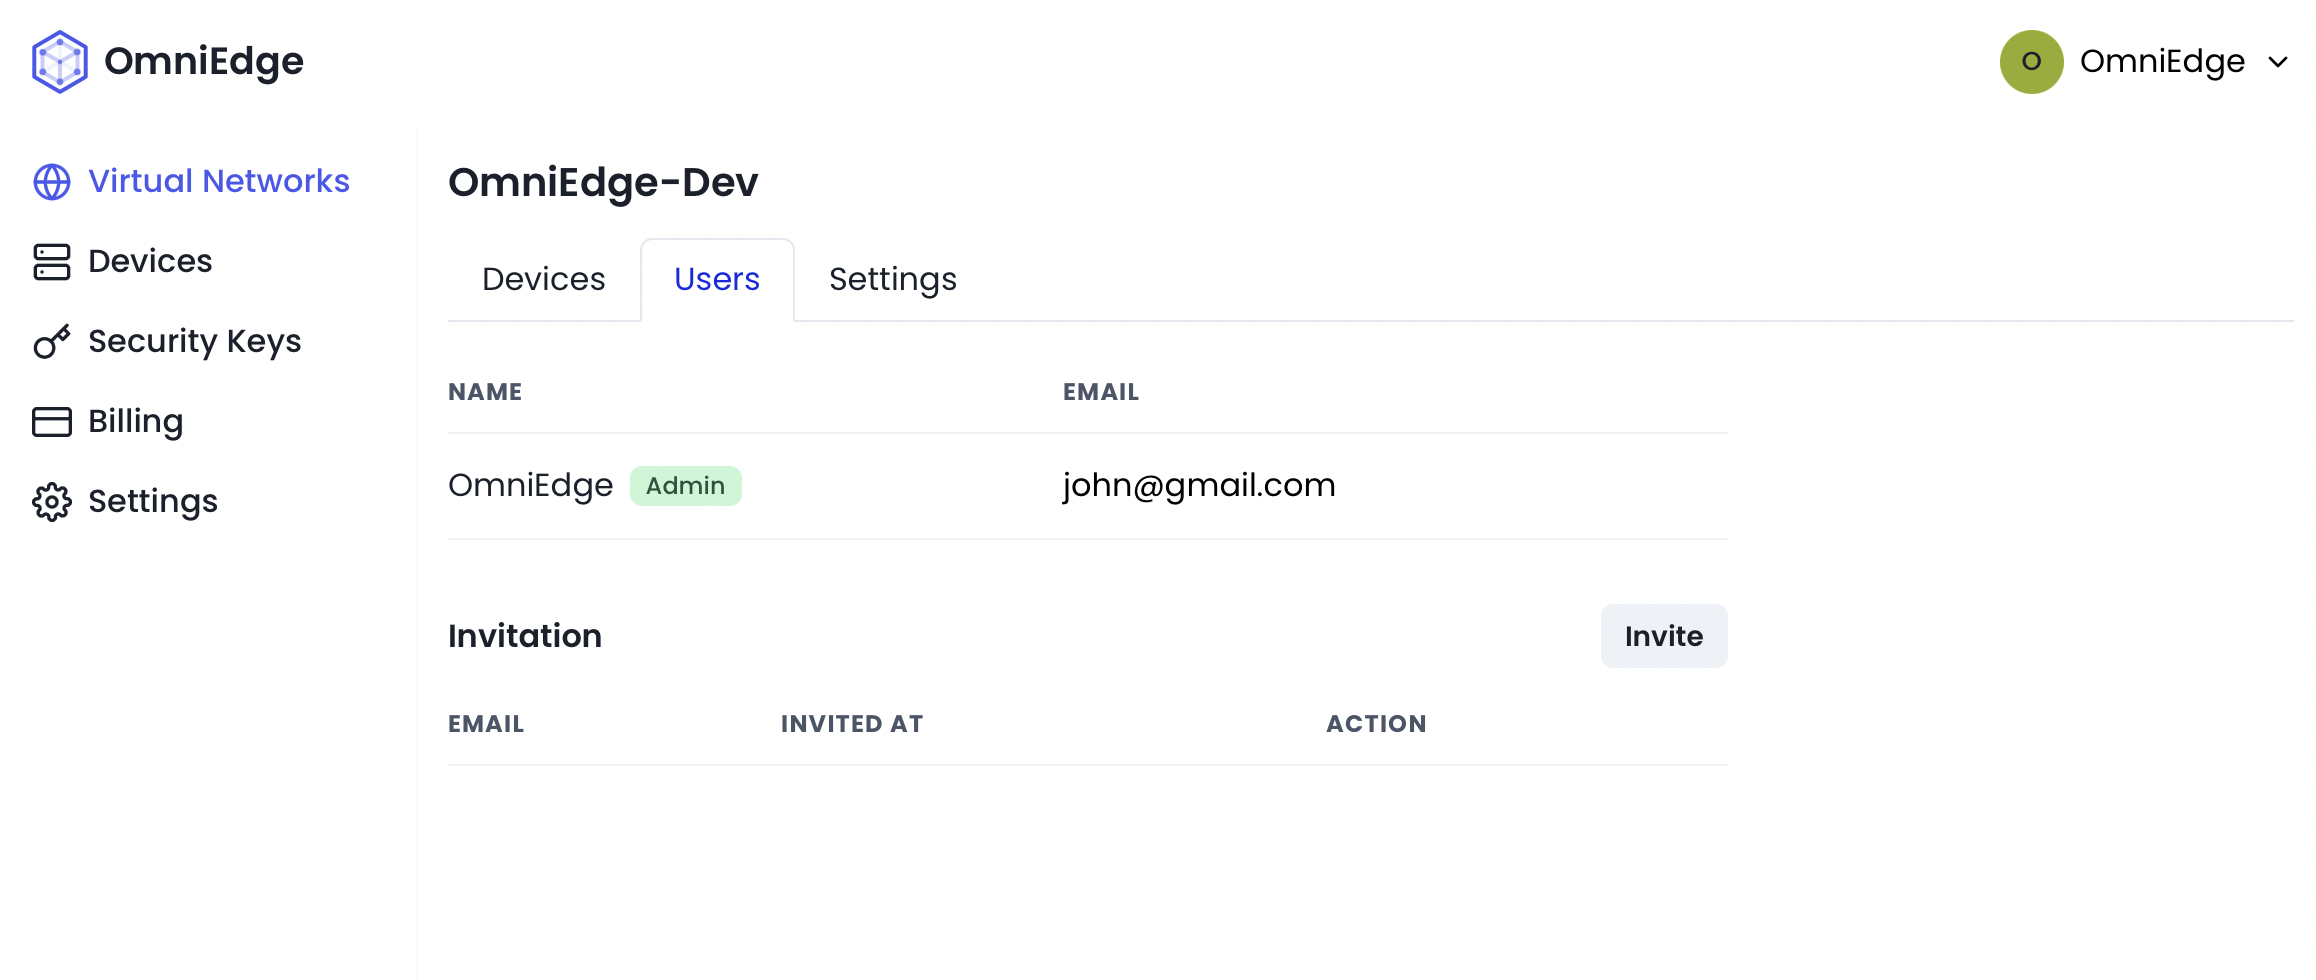
You can invite your friends, teammate, or anyone you trust to your own Virtual Network.
3. Devices
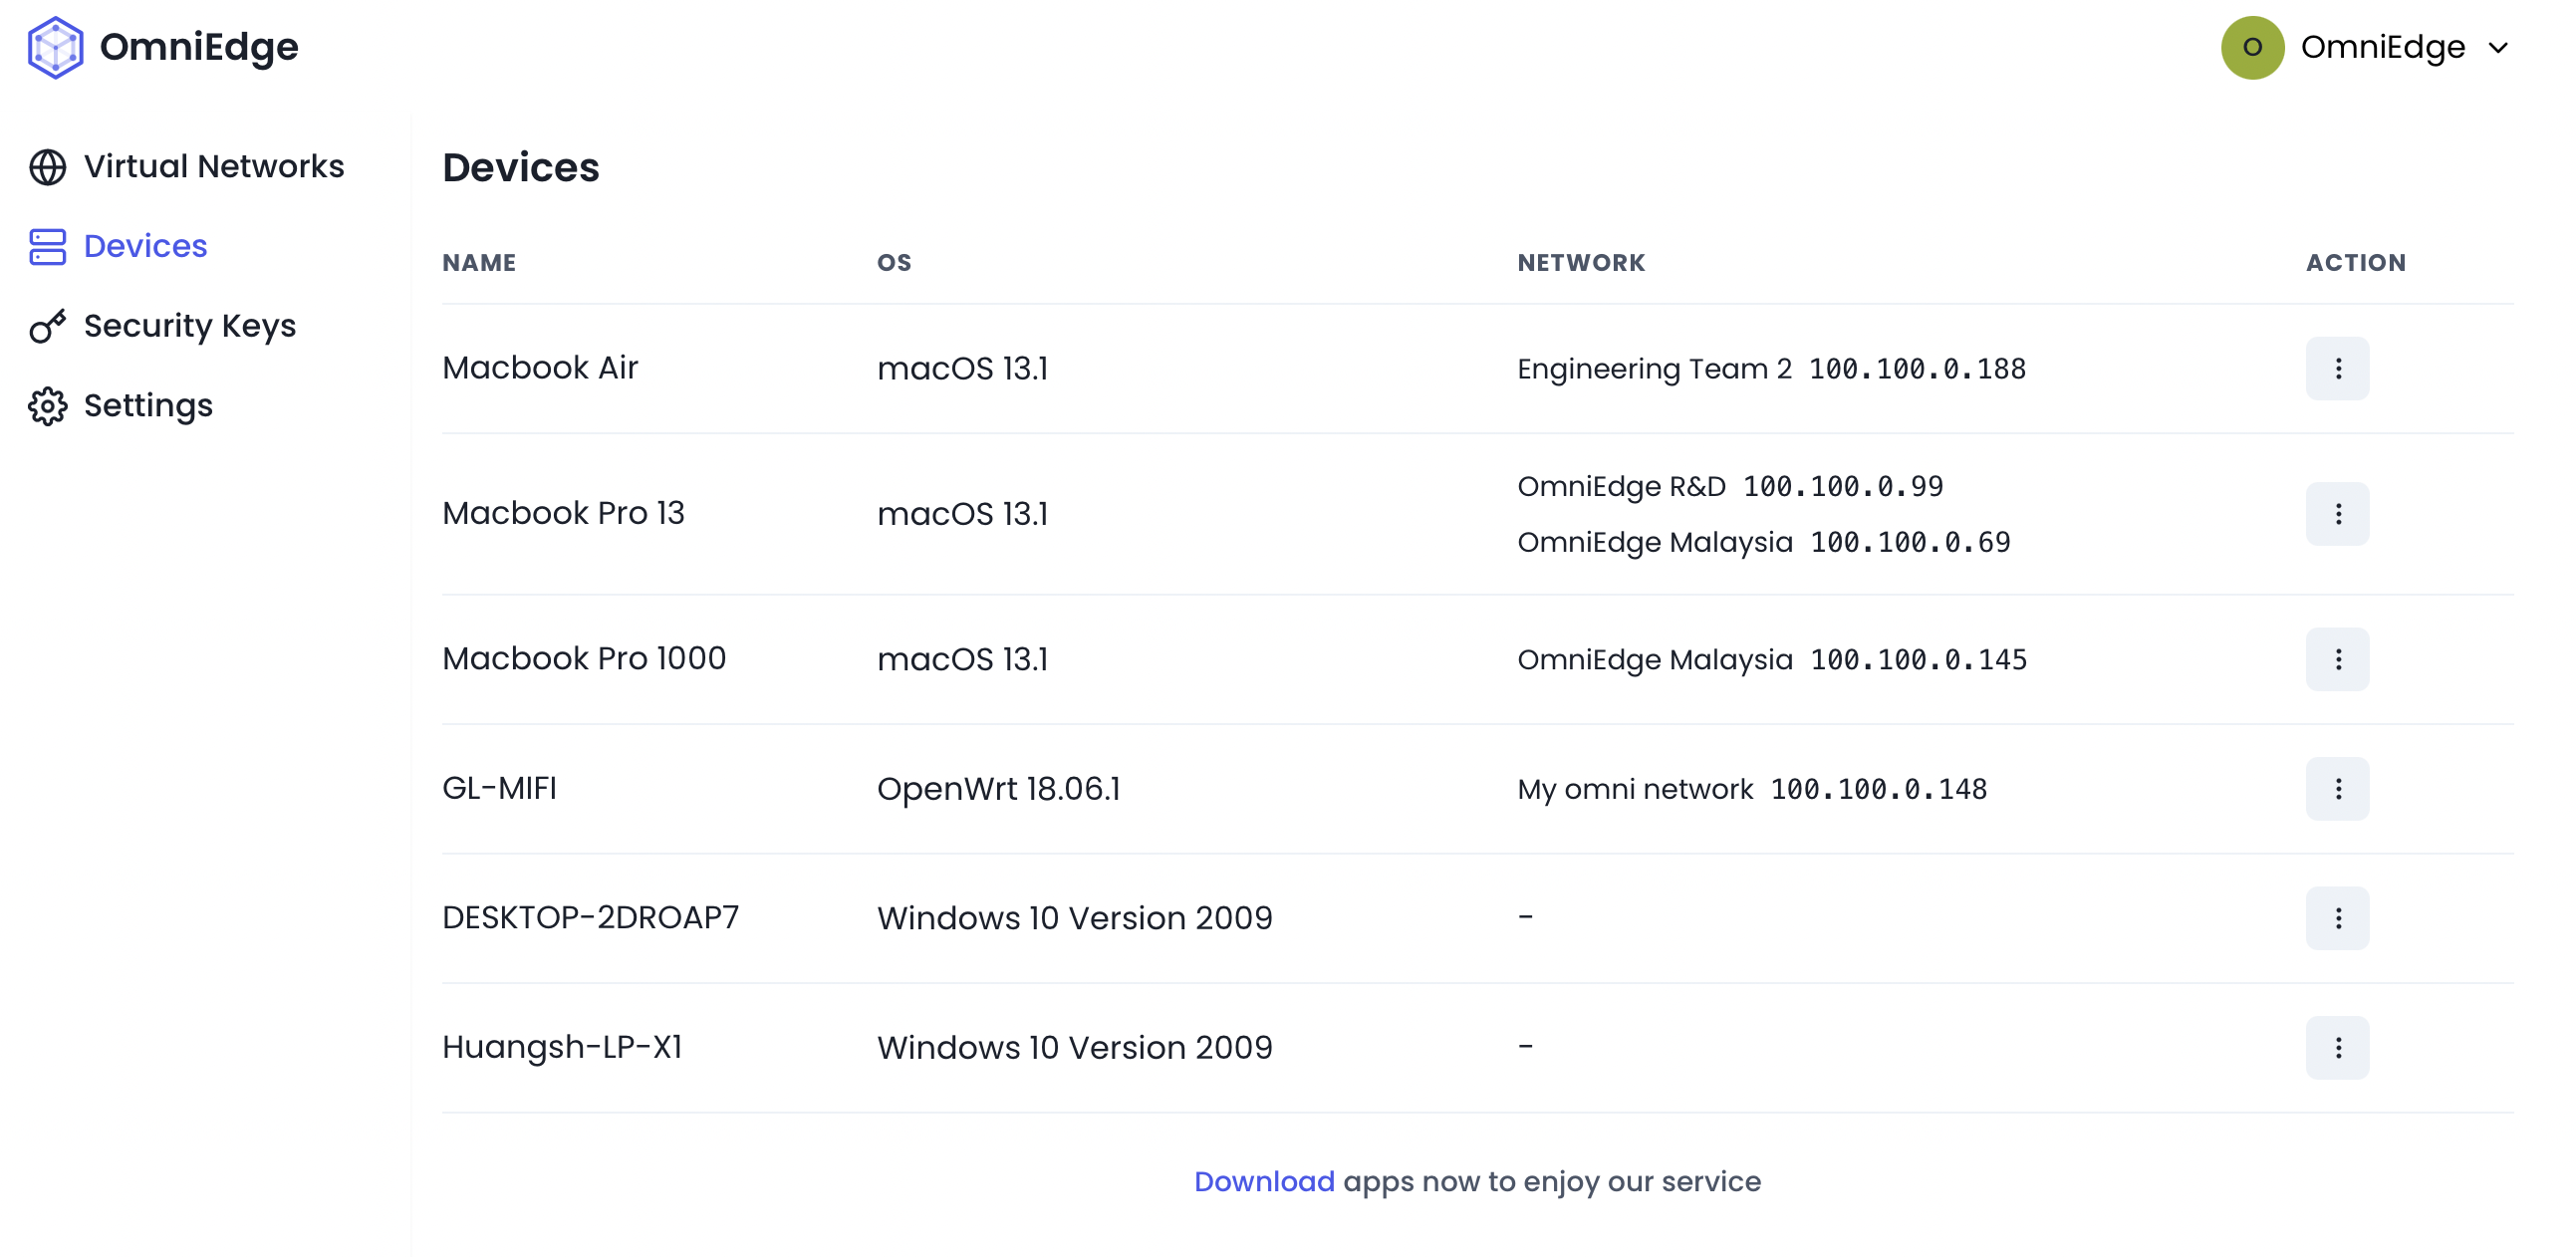
A Devices have to be registered before join the virtual network, and it will be listed as soon as registered successfully. You can change the device's name as you want.
4. Subnet Routers
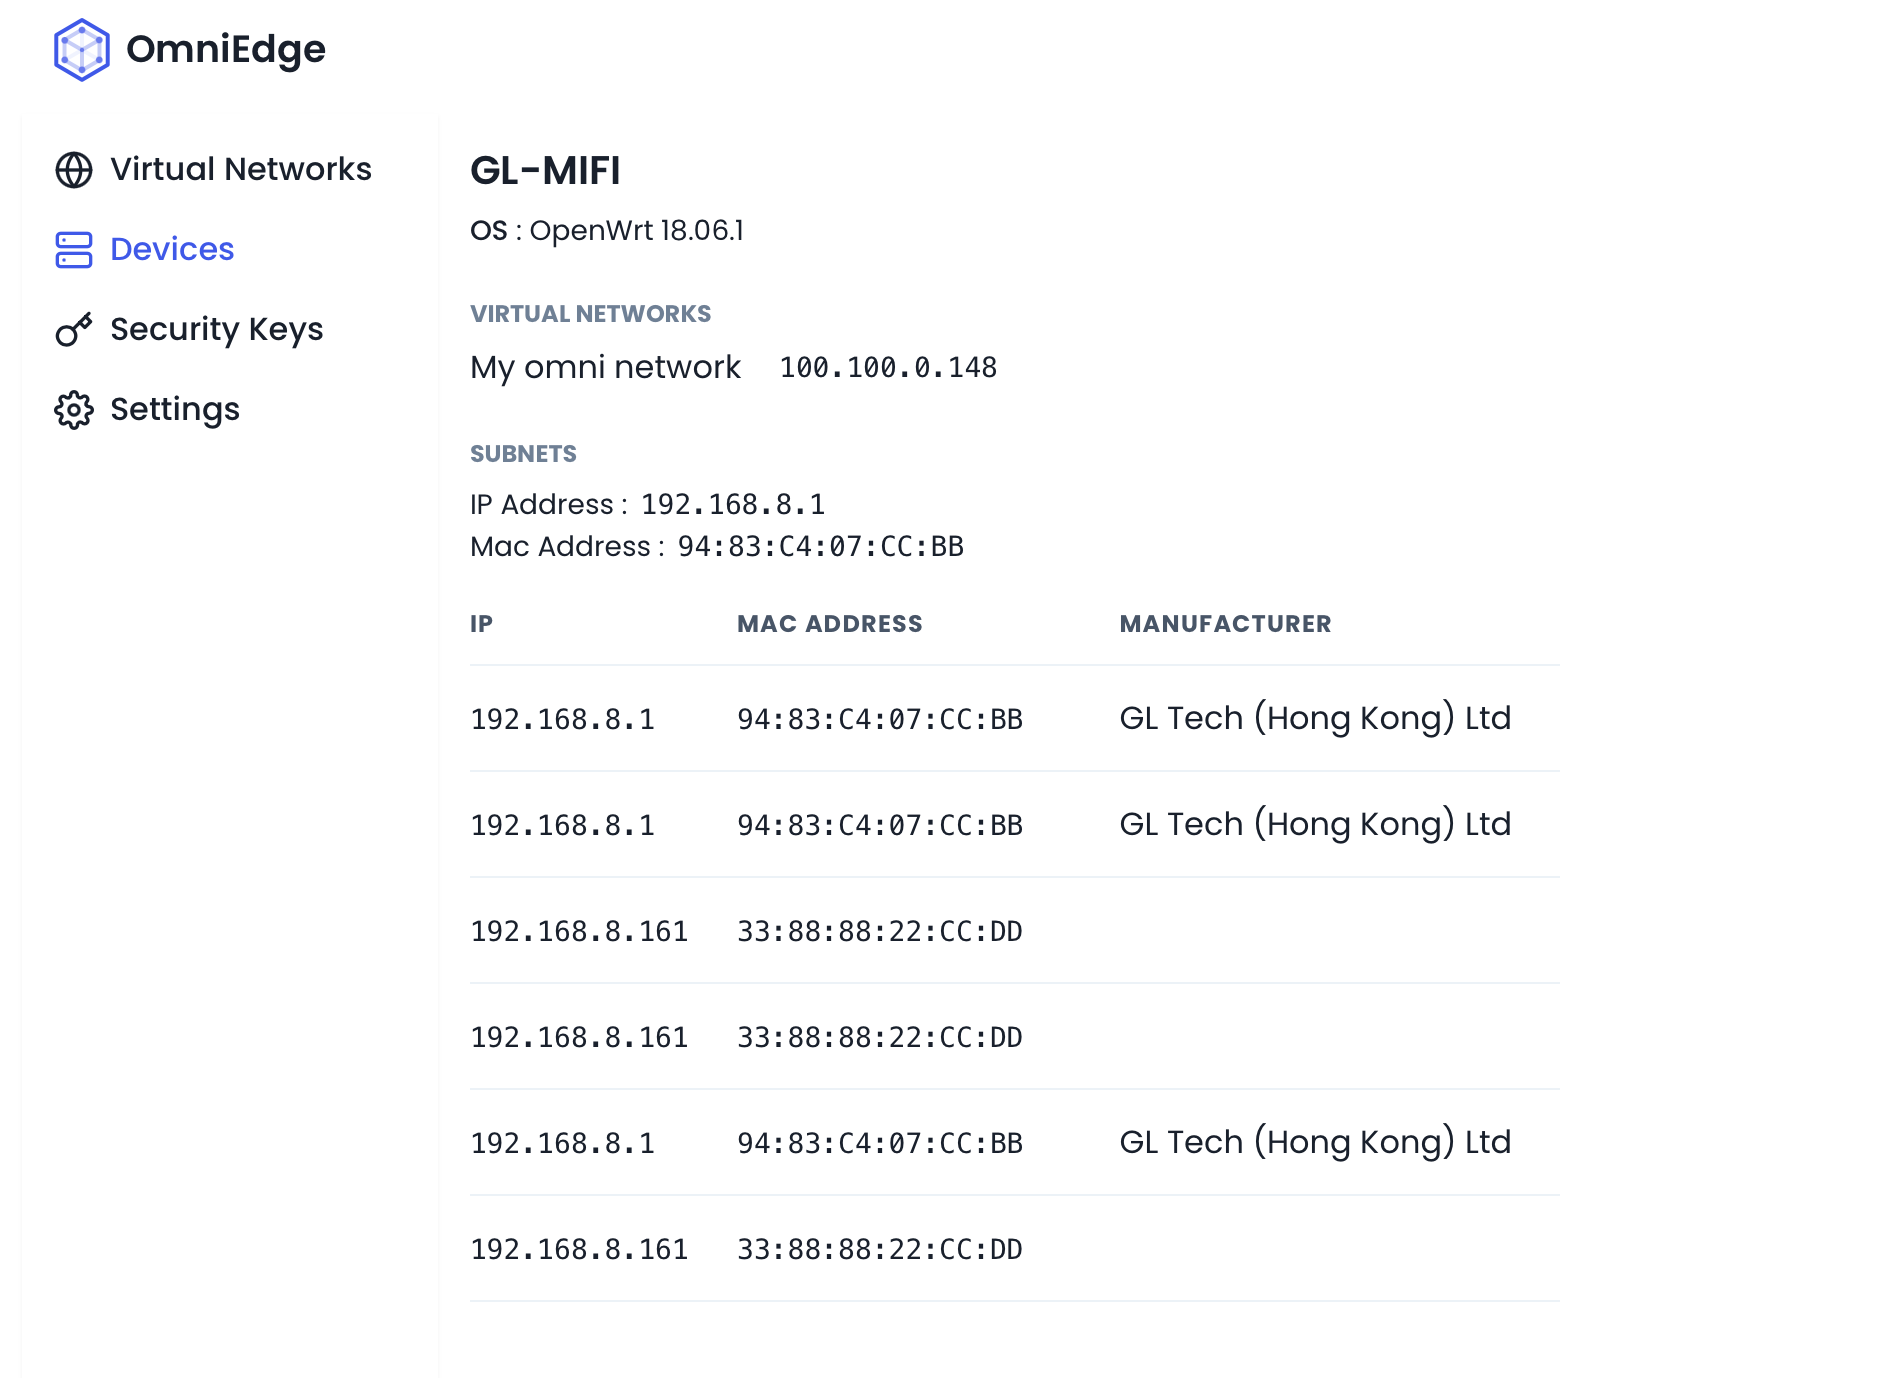
The devices can run as a router, you can manage all the LAN devices connecting to the router device.
5. Security Keys
Security Key is used to register devices, there are two kinds of Security OmniEdge offers: - Permanent Key: A security key with a year expiration. You can use it across multiple devices. - One Time Key: A security key with a few minutes expiration. It will be automatically revoked once used.


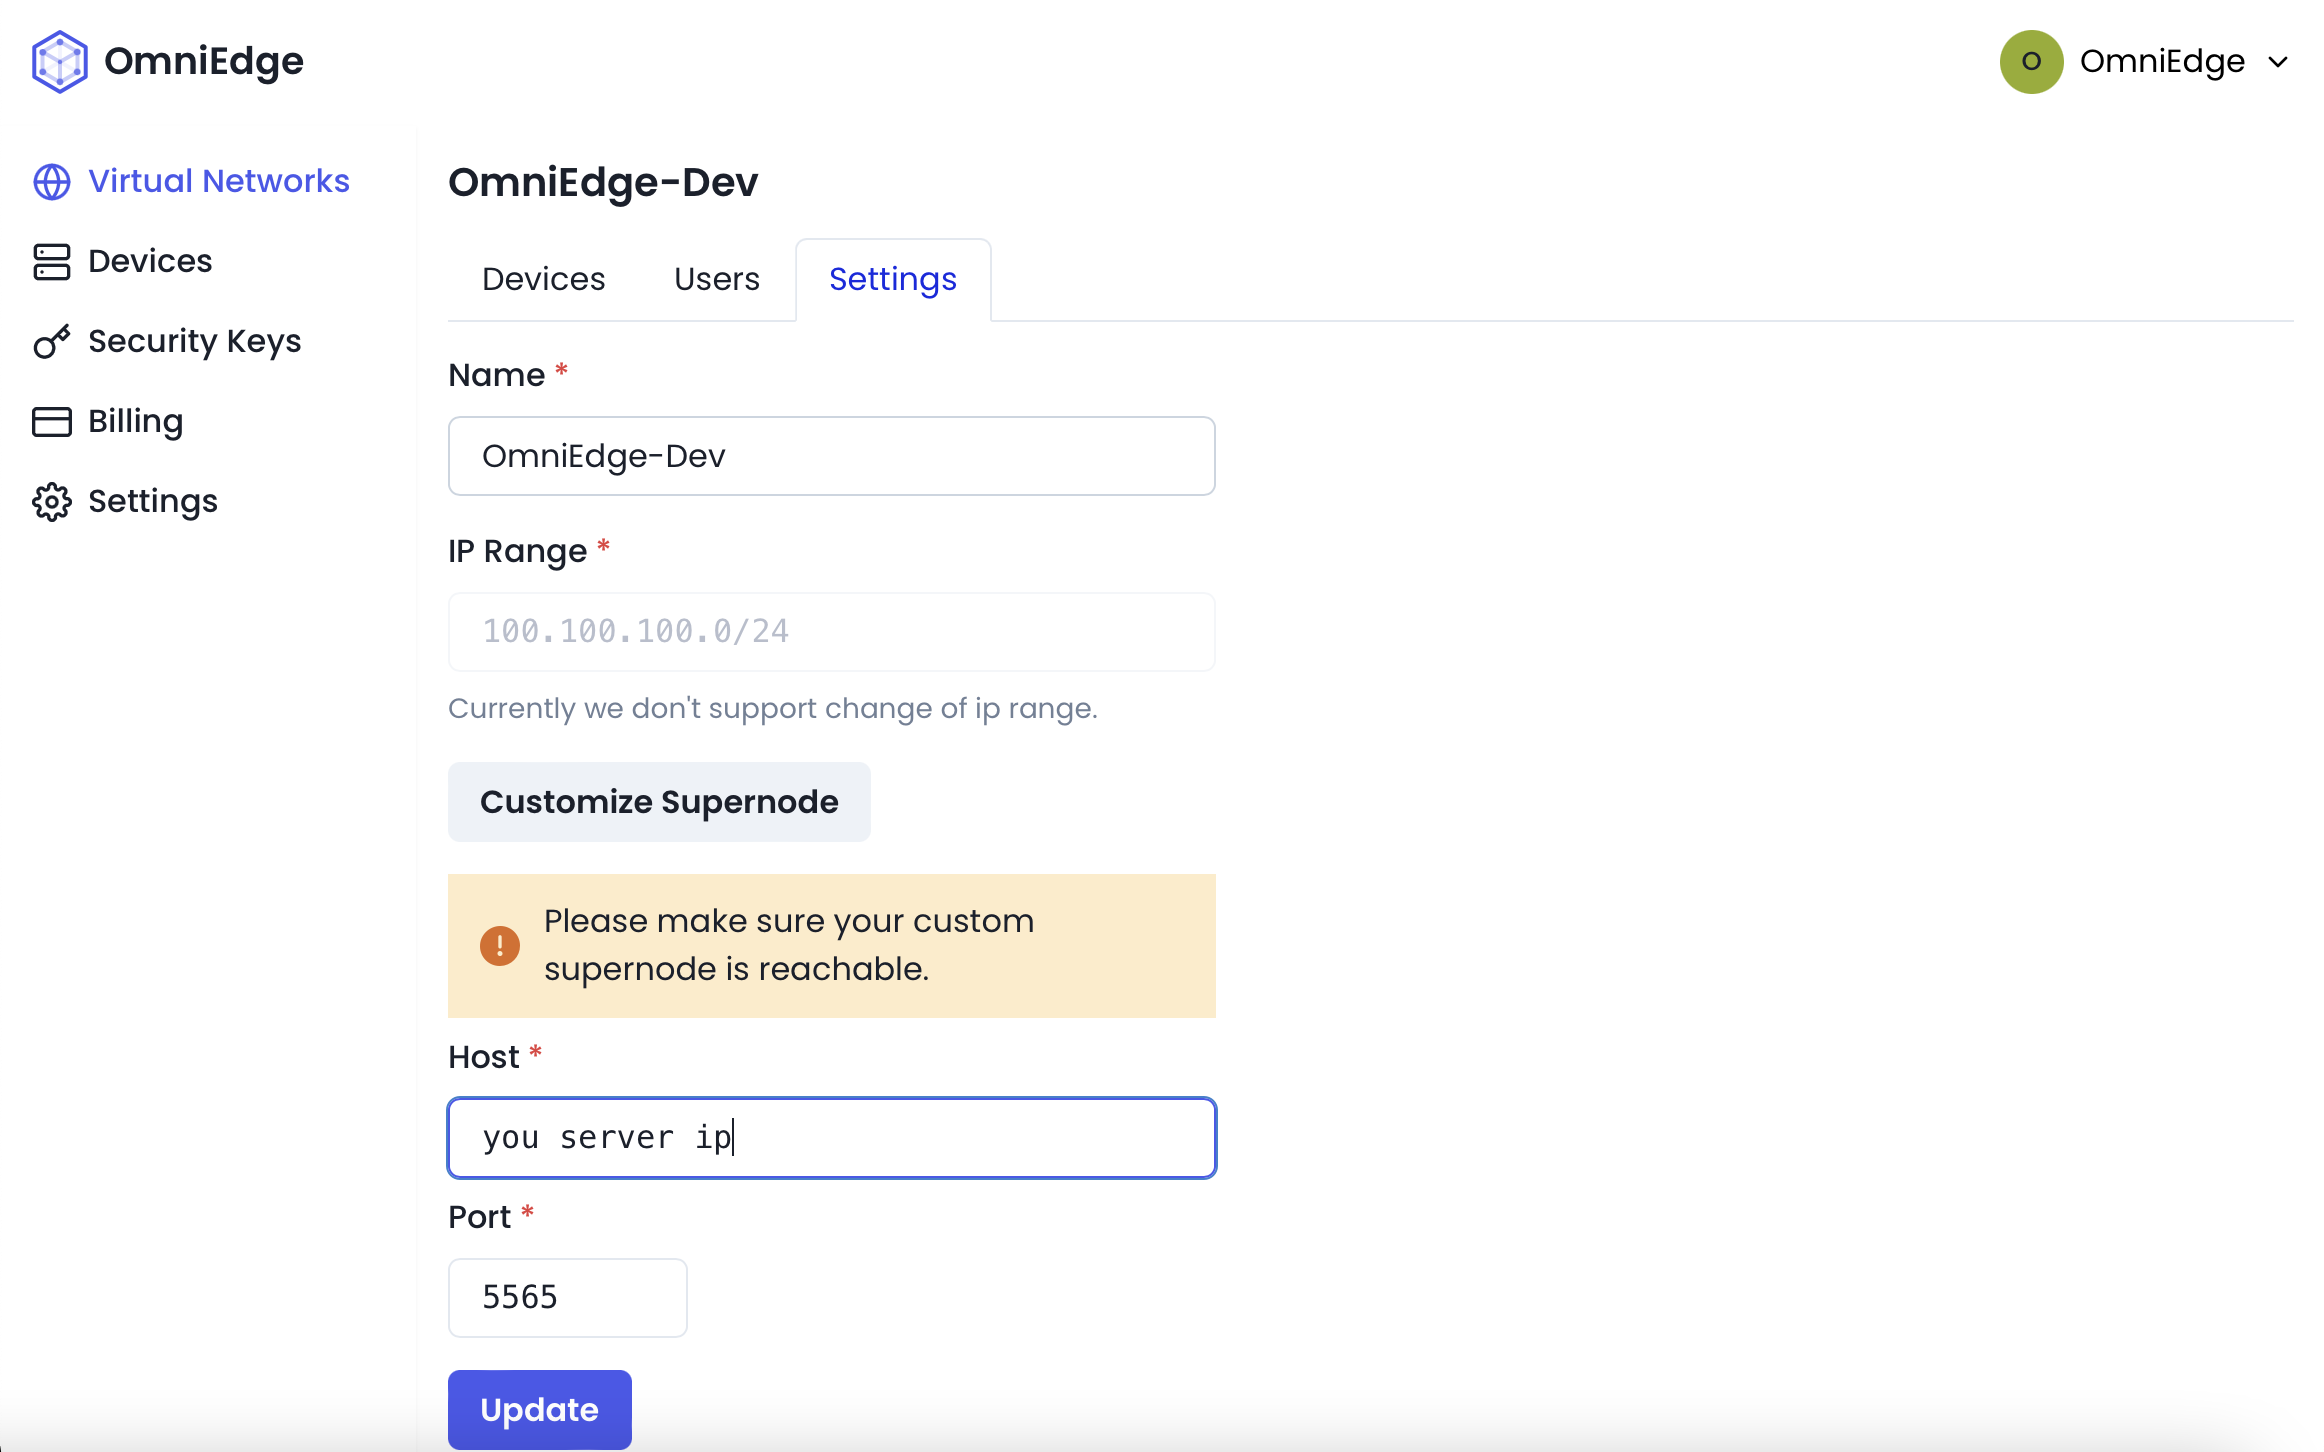
6. Customize Supernode
You can setup your own Supernode server to increase security and speed for your Virtual Network, read the doc Customize supernode installation to setup your own supernode.
7. Two Factor Authentication
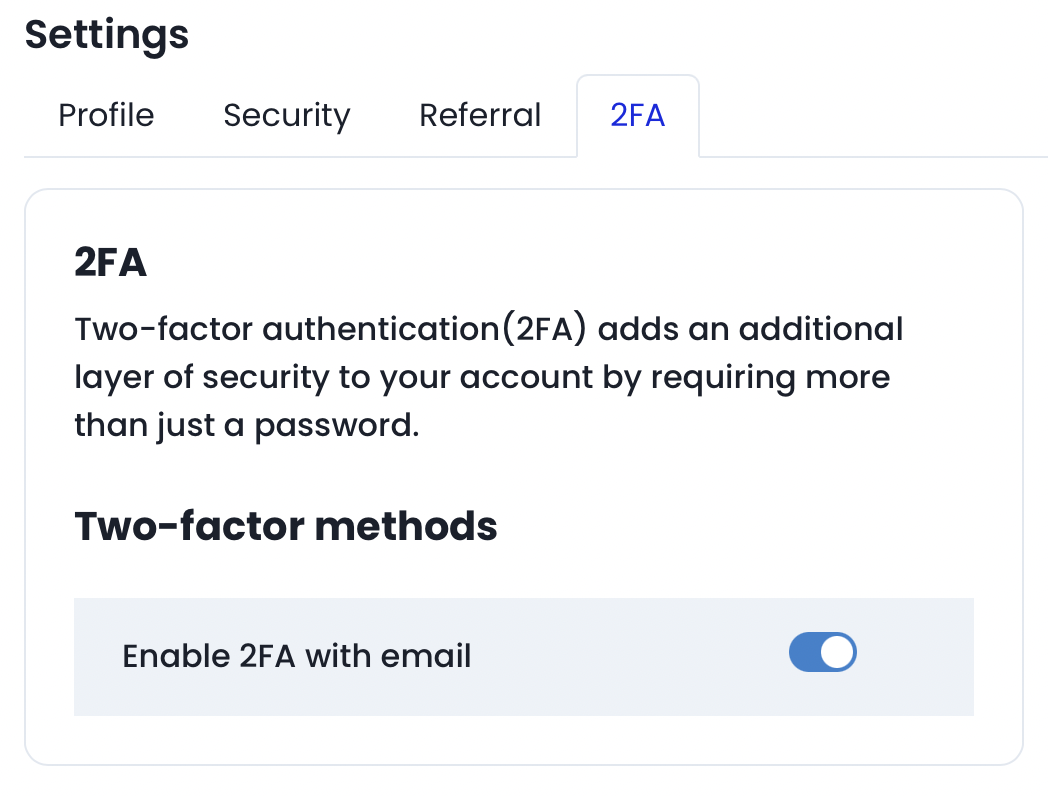
Two-factor authentication(2FA) adds an additional layer of security to your account by requiring more than just a password. You will need your 2FA code to modify your virtual network and more in the future.
If you have more questions, feel free to discuss.
On This Page